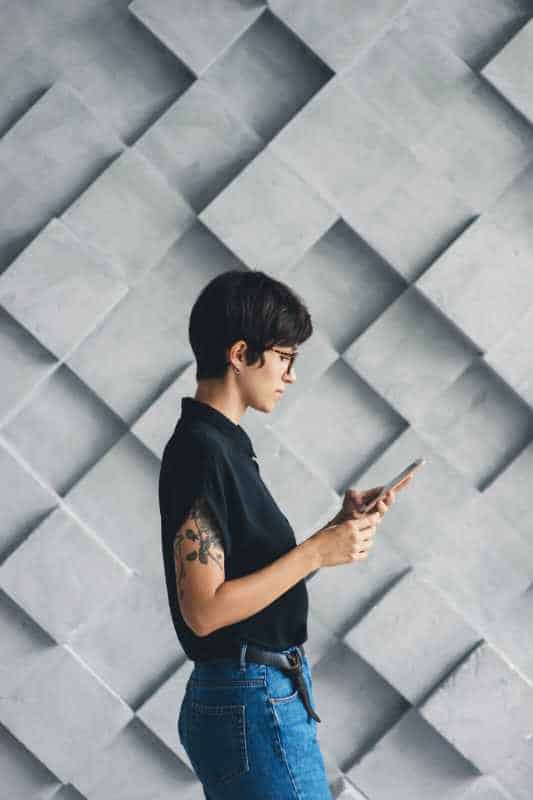
Nice clean product shots or beautifully lit portraits which you could use not only on social media platforms, do not have to involve thousands of dollars of equipment or a large studio. You can shoot them at home quickly, easily, and inexpensively if you know-how. The secret is to use something photographers have known about since the first camera was made. It’s called “north lightâ€. And this is a great free tool to skyrocket the quality of your professional photography techniques or even help to better promote your customer's product or services.
The “Dark†Secret Weapon of Professional Photography
Go to the North
If you go on the north side of a building when it’s in shade, or on the inside of your house near a window that faces north, you’ll notice a very soft light source. Even when the sun is shining with no clouds, the light in the shade is beautiful. It can even be 105 degrees outside, like on the day I took these shots, and the light is still great.
Use a Proper Background
All you have to do is set up an appropriate backdrop with the north light coming from one side. You can place products or a person in this light. Turn the subject left and right until you get the look you want. If desired, you can add a white card to lighten up the shadows.
You can also use a black card to get more contrast if you want the shadows to go darker in your professional photography. If you’re shooting a product, or even wedding, you may find that the careful use of small mirrors can lighten up dark areas or put a highlight where you want it.
Just play around with the mirror placement and then use whatever is handy to prop it up. If the light from the mirror is too harsh, spray a little hairspray on it to diffuse the light. (Acrylic mirrors are great for this, as they are inexpensive, lightweight, and can be cut to the size you need.)
The Grey seamless background is suitable for most product shots for certain businesses (for selling on eBay, for example). Grey (and other colours) seamless is available at most camera stores and is only about $30 for a 4-foot wide roll that will last you a long time. Clamp it to the backs of chairs or whatever you want to rig up, drape it so there’s a nice curve in it, place your product on the paper, and shoot away.

Your Camera Settings for Professional Photography
White Balance
It is important, that you use the correct white balance on your camera in this situation. Using the “shade†setting will usually give you decent results, but for the most accurate colour, you will want to use the “custom†white balance on your camera.
File Type
Shoot RAW files if your camera will do so. Otherwise, use the highest resolution and the best quality JPEG. If you’re shooting RAW files, you can actually, just leave your white balance setting on auto or daylight and adjust the colour later. When you open your RAW files, you will have a dialogue box that lets you choose the white balance. Choosing it this way allows you to see its effect clearly and to choose the best setting. That way you don’t have to worry about adjusting while you’re shooting. If it’s the accurate colour you want, just include a grey target (like the EZYBalance card) in a shot, and you can make it neutral with the neutral picker when you open the RAW file. No muss, no fuss.
If you have an image editing program for professional photography you can use, like Adobe Photoshop or Affinity Photo, take one picture with a neutral grey card in your set. This will let you check and fine-tune the colour later.


Sencetivity
Since you will be shooting in the shade, the light level will not be high. You may need to increase your camera’s ISO or use a tripod. If you are shooting a portrait, you will probably be using a longer lens and a wider (i.e. lower number) aperture, and you will probably have enough light to handhold your camera without shake. For product shots, though, I recommend a tripod and a low ISO (like 100 or 200).
Control Your Exposure
Then use a small aperture (like f/11 or f/16) so you can be sure everything is in focus. Unless it’s windy and you have a delicate subject that is affected by the wind, you can just use whatever shutter speed is correct for that aperture, since you won’t have camera shake with a tripod. You may want to use the Manual exposure control for the most accurate exposure, but I used aperture-priority for these shots, and it worked just fine. However, if I had used a white or black seamless background instead of grey, it would have thrown off my exposure. And I would have had to use manual exposure settings for more professional photography. A grey card (like one side of the EZYBalance) will let you set your exposure accurately.
Conclusion
If the day is totally overcast, you won’t have the directional light you see in these shots; everything will be very flat. That may work okay for certain subjects, but it usually gives you a pretty boring shot. However, if you have a highly reflective subject, like jewelry or silver, the overcast may work fine. Typically, though, a day with full or at least partial sun will give you the directional but soft “north light†that photographers have been using for generations.